How to electroform feathers? | Easy Way | 2023
Feathers Can Be Electroformed
This article will answer your questions about how to electroform feathers step by step.
Undertaking a proper electroforming project can be quite a daunting process, especially when you’re working with intricate shapes from nature instead of something purely mechanical.
These intricate natural shapes are however often the prettiest projects you’ll make, and all the effort will be worth it in the end! In this article we’ll walk you through the complete process of electroforming your first feather, when you’re finished, you’ll have immortalized the beauty of nature through the beautiful art of electroforming!
The Answer To The Question… How To Electroform Feathers?
How to electroform feathers? Feathers, just like any other object can be electroformed. Be sure to pick a strong feather with lots of shapes.
Approximate the surface area using known shapes such as cubes or cylinders, place your feather in the electroforming setup and let the magic happen!
Electroforming natural objects are often considered difficult, but the results will be more than worth it!
Electroforming the beautiful shapes created by mother nature is one of the most magical experiences for both a beginning and even an experienced electroforming artist.
In this article, we’ll help you through every step of the way in stunning detail! So, what are you waiting for? Let’s get electroforming!
Find The Exact Feathers You Want To Use
Before we can start our electroforming process, we’ll need to source some nice feathers to work our magic on!
To ensure the best result possible, we can’t just pick up any feather to electroform, we’re looking for feathers that aren’t too fluffy, have a lot of shape to them, and most importantly we’re looking for strong feathers to withstand the abuse that we’ll be putting it through!
Generally, the feather types we are looking for are wing and tail feathers as they suit our requirements, I’d recommend however to experiment for yourself!
Experiment with all the different feather types you discover out there and see which results satisfy you most!
Feathers might be harder to find than you might think depending on where you live.
If you live at or near a farm it shouldn’t be an issue, but if you live in a densely populated area away from the countryside you might need some help locating the feathers you’ll need!
Feathers can generally be found in areas with lots of greenery as birds like spending their time here, this means that your best bet at finding some feathers to use will be in your local park or perhaps you can even pay a visit to your local zoo and ask if they have any leftovers for you!
If you’re out of luck and your quest for feathers remains unsuccessful you can buy perfect feathers online!
Many hobby and crafts shops offer perfect feathers, especially chosen or made with projects like ours in mind.
An example of such a webshop is: https://featherplace.com/
How To Protect/Seal The Feathers Before Electroforming Them?
Now that we’ve found the correct feathers for our project, we can start preparing them to undergo the electroforming process.
For this we’ll need to seal our feathers, which is a very important part of the electroforming process, we must do this to make our feathers waterproof so that they don’t dissolve in the environment of the electroforming bath and to avoid contamination, which can lead to failed results!
There are many sealants on the market for you to buy, but one of the most popular and most easily accessible is Mod Podge.
Mod Podge is a cheap sealant that can be bought at most local hardware stores or online, carefully dipping your feather in a tub of Mod Podge or using a paintbrush to apply multiple layers should perfectly seal our feather for the next step in our process!
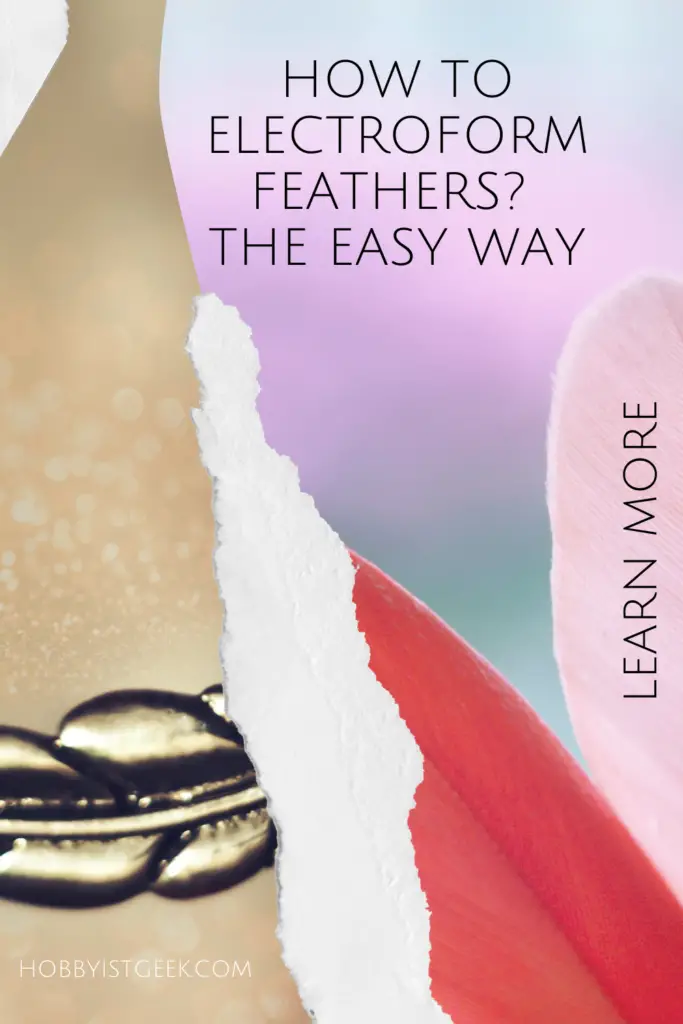
How To Connect The Bail/Jump Ring Directly To The Feather?
Now that we have our design all sealed up, we’ll need to find a way to attach our feather firmly to our electroforming setup.
As you might have noticed, a feather is a difficult shape for this as it doesn’t have any natural attachment points that we can use.
Luckily, we can use something known as bail or jump rings.
Jump rings have the added benefit of instantly turning our finished feather into a piece of jewelry to attach to a necklace, bracelet, etc.
Jump rings come in different sizes, the size you use isn’t vital to the success of your project, but just note that during the electroforming process your ring will have shrunk due to copper build up inside of it, so keep that in mind when wanting to use our feather as a piece of jewelry for example.
The easiest way of attaching a jump ring to your feather is by using your preferred super glue, make sure to allow proper time to dry!
Maybe let it sit for a night or a couple of hours because you want the glue to dry properly before continuing with the next steps of the process, glue dries best and is best used in a well-ventilated room!
If you don’t have the time for this, here’s a pro tip, applying a little baking soda to the super glue will make it dry instantly!
There’s also a commercial super glue accelerator available here: https://www.amazon.com/Bob-Smith-Industries-BSI-151H-Accelerator/dp/B0166FFCCS/ref=sr_1_3?dchild=1&keywords=Accelerator+Insta-Set&qid=1616596717&sr=8-3
How To Paint With Copper Conductive Paint Before Electroforming?
We’re now ready for the next step in our electroforming project, applying the copper conductive paint to our sealed feather.
In a nutshell, copper conductive paint is used to make the surface of our piece conductive, as the new copper surface will only form on conductive surfaces and our feather isn’t naturally conductive.
Before we apply any paint though, we need to look at the many options of conductive paint available.
There are different paints for the different types of metal, in our case, we’ll be using copper conductive paint as we’re using copper but be sure to check this for your specific situation.
Now that we’re ready to paint we might want to sand down our sealed feather a little bit to make sure that the conductive paint sticks to the surface properly.
Once you identified the correct paint to use the application process is similar to that of the sealant, use a paintbrush to make gentle and even strokes across the entirety of the feather’s surface.
Make sure to take this step in a well-ventilated room in a clean environment as contaminating the conductive paint can damage its conductivity!
When you’re done, we can continue to the next step of the process!
What Is The Best Way To Keep The Feather From Floating In The Electroforming Bath?
Whilst setting up your electroforming setup you might have encountered a slight issue, feathers are, quite literally, light as a feather and they don’t like to sink in the electroforming solution.
If your feather is floating in the beaker the electroforming process won’t be able to do its magic and the results will be rather underwhelming.
To prevent this problem, we can simply add a little bit of weight to our feather, for this we can use something known as a glass anchor.
Glass anchors can either be commercially bought or homemade as they’re quite simple.
It’s a nylon thread with a piece of glass attached at the bottom to keep our feather submerged.
The reason we use glass and nylon for this is to prevent any conductivity from happening in the anchor as we don’t want this to become part of our final electroformed result!
Add Another Dimension To The Copper Feather By Applying A Patina Coat
After the electroforming process, we’re left with a beautiful copper feather.
We’ll need to rinse it off and perform the necessary actions to prepare it for the finishing phase!
During the finishing phase, we can choose to apply a patina coat finish to our piece.
Using Liver of Sulfur many different finishing effects can be achieved.
Liver of sulfur comes in powder or gel form and it can be mixed with hot water, it is very easy to use but be aware, it smells like rotten eggs!
Depending on the water temperature and duration of coating different finishing effects can be achieved with many different colors!
This is a link to a website to get you started on using Liver of Sulfur: https://www.halsteadbead.com/articles/6-tips-liver-of-sulfur
The process of patina coating isn’t very sophisticated, and it all boils down to mixing Liver of Sulfur with water and submerging our electroformed feather in it.
Due to the many different options in patina finishing effects, it is hard to cover the process in detail.
Research the finishing effect you’re after and follow the steps.
A great site to find different finishing effects can be found around step 6 of the following article: https://enchantedleaves.com/pages/electroforming-tutorial-free-step-by-step-guide-to-making-copper-electroformed-jewelry-learn-how-to-electroform
How To Finish The Feather By Protecting And Polishing?
We’ve come a long way, and now we’re ready for the final step in this long and intricate process!
Our feather now has a stunning look, and all that’s left for us now is to apply the final finishing touches.
The most important finishing touch is polishing your final piece to shine brighter than ever before!
Another important finishing step is protecting your piece from oxidation, luckily this rather simple and extremely similar to the sealing process mentioned before!
Polishing is done with a Dremel, a small multipurpose machine tool, or a small polishing tool.
When using electrical devices like these always be sure to wear safety goggles to protect yourself from flying off pieces and make sure to wear a face mask to protect yourself from the dirty copper fumes!
If you don’t have access to either of these tools, don’t worry!
Polishing can also be done by hand, using tools like steel wool or a brass brush.
Final Thoughts For How to electroform feathers? | Easy Way | 2023
Now, after all of these intricate steps, we took a feather from being left on the ground, and we gave it another life by putting it through the beautiful process of electroforming!
We took something from nature and applied our methods to it to create a beautifully finished metal piece!
I hope this article helped you along in your electroforming journey, and thank you for reading!
Electroforming: The Ultimate Guide Check It Out!
Sources In MLA Format:
*, Name. “Electroforming Supplies: What You Need For Electroforming Jewelry.” Electroforming Artist, 4 Dec. 2020, electroformingartist.com/electroforming-supplies/.
*, Name. “How To Electroform A Leaf.” Electroforming Artist, 4 Dec. 2020, electroformingartist.com/electroform-leaf/.
Leaves, Enchanted. “Electroforming Tutorial – Free Step by Step Guide to Making Copper Ele.” Enchanted Leaves, enchantedleaves.com/pages/electroforming-tutorial-free-step-by-step-guide-to-making-copper-electroformed-jewelry-learn-how-to-electroform.
Place, Feather. “Feathers At The Feather Place: Craft Feathers: Feather Boas & More – The Feather Place.” The Featherplace, The Featherplace, featherplace.com/.
Michael
ELECTROFORMING | FUSED GLASS | METAL ARTIST
I’m documenting my electroforming journey step by step. I wish I had this information when I started my electroforming journey.
Pinterest
Facebook
Let Us Know What You Think
- Electroforming Conductive Paint, Where To Buy It, And How To Make It – The Ultimate Guide - April 24, 2021
- Copper Electroforming Solution Recipe - April 20, 2021
- Can You Electroform Polymer Clay? - April 13, 2021

