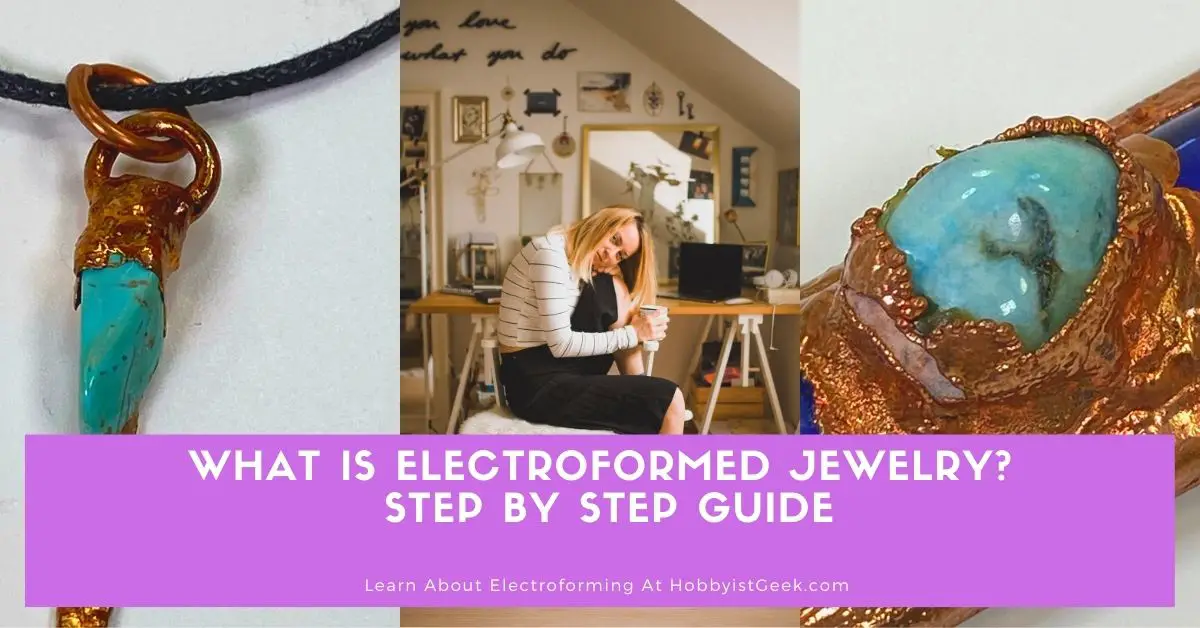
What Is Electroformed Jewelry? | Step By Step Guide 2023
How Do You Electroform Jewelry?
What Is Electroformed Jewelry?
This article gives you everything you will need step by step.
I know you come across some metals and gemstones in a jewelry design that you wish you could have.
I wanted to see if I would be able to start making my designs.
After much research I found the answer to be the process of electroforming.
What Is Electroforming Jewelry?
Electroforming was the way to make it happen; a process of turning natural/organic, gemstones and other materials into copper metal jewelry, by building up layers of copper around my designed forms, preserving them forever.
The Answer To The Question… What Is Electroforming Jewelry?
The free-form technique of electroforming jewelry involves the construction of layers of copper metal around a hard surface.
In many pieces, designers manipulate metal around gemstones of organic natural components to create a uniquely raw, organic aesthetic.
While it’s technically a scientific process, you don’t need a lab coat or a chemistry degree to learn this skill.
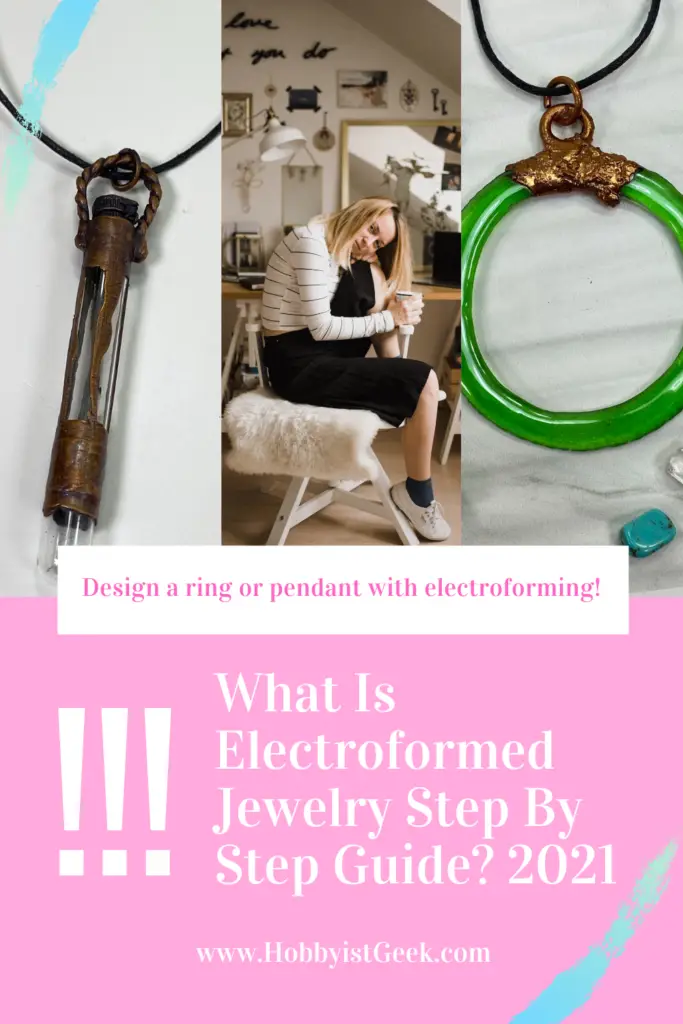
Designing a ring or pendant for electroforming jewelry.
I will show you the basic steps to design and make a beautiful copper ring and pendant.
Here is the information on the electroforming process of jewelry.
It is important to consider the things that people like in their jewelry and make something unique.
Now let’s get started…
This Video Explains How to Electroform Jewelry
What Do You Need For Electroforming A Pendant?
- After you have designed the piece it’s time to prepare the piece for electroforming.
- Any surface that can resist acids in the copper electroforming solution will work. Fuck
- Organic and porous materials, such as some gemstones and crystals, should be protected by sealing with several coats of varnish or polyurethane lacquer, paint it on the areas you don’t want to electroform.
- Now it’s time to paint the piece using conductive paint exactly where you want the copper to build up.
- At this point, you will connect the 18-gauge wire to hold a chain if you are working on a pendant.
- Use crazy glue with baking soda to help set the glue much faster.
- Now it’s time to connect the piece to a very thin copper wire so the DC current can pass through the piece which will provide a good connection during the electroforming process.
- Carefully clean your piece and be careful to avoid skin contact with the part, as the oils on your skin can make electroforming difficult.
- Prepare your anode.
- Use a clean piece of copper (1” copper pipe or scrap copper) in the electroforming tank.
- Place the copper anode in the electroforming solution in one of two ways:
- Drill a hole in the copper and pass the 18-gauge copper wire, twist it tightly and wrap it around the bus bars, then attach an alligator clip.
- It works well when you are doing multiple pieces; or;
- This is my preferred way to do it
- Bend the copper on the side of the container and secure the clip.
- It works well for a large piece in a large tank.
- Sometimes you have to move and adjust your part in the solution.
- Hang your piece from the copper bus bar after you clean it with a steel wool pad.
It is important to ensure that the anode and the cathode (part) do not touch each other.
Attach your clips, the negative side to your piece and the positive side to the anode.
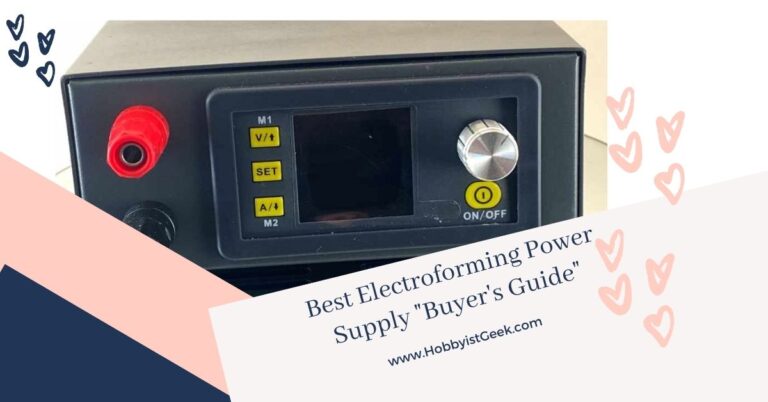
- Turn on your rectifier.
- The slow metal build-up will give you the best results and details.
- You can use low voltage to achieve this (.1 volt or so).
- The higher the current, the more granular the deposit will be, it can give an interesting texture.
- Check your piece regularly and make any necessary adjustments until you achieve the desired look.
- Overhanging areas and angles will accumulate deposits faster than curved areas.
- A small piece can take 2 to 12 hours or more some of my pieces took longer than 24 hours.
- Turn off the rectifier.
- Remove your piece from the solution and rinse with water, then water with baking soda then back into the water.
- Your piece will have a pink tint and can start to react/tarnish to the environment.
- The final step is to complete the finishing process.
- It’s important to apply a patina to get the desired look, then to apply a protective coating to slow down the piece from reacting to the environment.
- Remember to take the proper safety precautions when using the solution.
- Dispose of hazardous materials properly and have sufficient ventilation in your workspace.
What Do You Need For Electroforming A Ring?
Electroforming is a kind of mysterious process for most people. Here is a little rundown of the steps required to make each of the electroformed jewelry.
In this example, I will be making a ring.
- The process begins with making the ring from a fancy ring shank or copper wire.
- After the ring has been formed into a circle, I select cabochons and/or rough gemstones from my collection and attach them to the bands on the ring.
- I hand sculpt the gemstone settings using polymer clay, which needs to be baked to properly set the clay.
- Organic and porous materials, such as some gemstones and crystals, should be sealed with several coats of varnish or polyurethane lacquer, paint it on the areas you don’t want to electroform.
- The next thing to do is to paint the ring with conductive paint so that the copper grows into the part.
- Slow metal build-up will give you the best results and details.
- You can use this to determine the current (amps) setting to achieve this follow this calculation (.1 amps per square inch of surface area.)
- The higher the current (amps), the more granular the deposit will be, it can give an interesting texture.
- Check your piece regularly and make any necessary adjustments until you achieve the desired look.
- Overhanging areas and angles will accumulate deposits faster than curved areas.
- A small piece can take 2 to 12 hours or more. Some of my pieces took longer than 24 hours.
- The final step is to complete the finishing process.
- It’s important to apply a patina to get the desired look, then to apply a protective coating to slow down the piece from reacting to the environment.
- Then I hand patina and re-polish each piece to improve the texture and give it an aged look, then to apply a protective coating to slow down the piece from reacting to the environment, and the rings are finished!
Remember to take the proper safety precautions when using the solution.
Dispose of hazardous materials properly and have sufficient ventilation in your workspace.
What Materials Can Be Electroformed To Make Jewelry?
I use copper, my commonly used material for the creation of many of my jewelry pieces through the electroforming process.
Copper is predominantly used because of its versatility, physical and mechanical properties that it possesses.
Properties such as non-magnetic, can be worked on and formed easily.
Other materials that can be electroformed
You can electroform many metals such as Gold, Silver, Copper, and Nickel to name a few.
These mentioned materials each possess properties that make them suitable for the creation of beautiful jewelry.
How To Take Care Of Electroformed Jewelry
Remove your jewelry before you wash your hands, bathing, swimming, and hot tubbing.
We don’t want to expose our jewelry to continuous amounts of water or chemicals (soap, lotion, etc) that may also cause oxidation of the metal.
There are a few crystals/gemstones that are not suited to water and may likely wear away with repeated exposure.
The results you are likely to get from the electroforming process can be very interesting by adding decorative embellishments and unique textures.
Can you electroform gold or silver jewelry?
The answer is yes and no.
Since silver and gold electroforming is rare due to the costs to use gold and silver in the process, it’s more likely that the better process and most cost-saving would be plating where a thin layer of gold or silver is placed on the copper base.
Plating is a much faster process and plating is very different from electroforming as it takes a few different and some are the same machines, tools, and solutions.
These tools and solutions are easily bought online and in kits.
Final Thoughts For What Is Electroformed Jewelry? | Step By Step Guide
As we discussed throughout the article you can use the process of electroforming to design and craft beautiful jewelry.
We went over the many processes and materials you would need to create beautiful pendants and rings by implementing the art form of electroforming.
We also covered the many materials that you would need to make electroformed jewelry and to protect that jewelry once it was made.
Now go out there and have fun electroforming!
Electroforming: The Ultimate Guide Check It Out!
If you’re interested in electroforming, you must check out “Electroforming: The Ultimate Guide” on our blog. This comprehensive guide covers everything you need to know about the electroforming process, from the basics to more advanced techniques. It’s the perfect resource for anyone looking to learn more about the electroforming process. So, what are you waiting for? Click on the link and start reading “Electroforming: The Ultimate Guide” now!

Michael
ELECTROFORMING | FUSED GLASS | METAL ARTIST
I’m documenting my electroforming journey step by step. I wish I had this information when I started my electroforming journey.
Pinterest
Facebook
Let Us Know What You Think
- Electroforming Conductive Paint, Where To Buy It, And How To Make It – The Ultimate Guide - April 24, 2021
- Copper Electroforming Solution Recipe - April 20, 2021
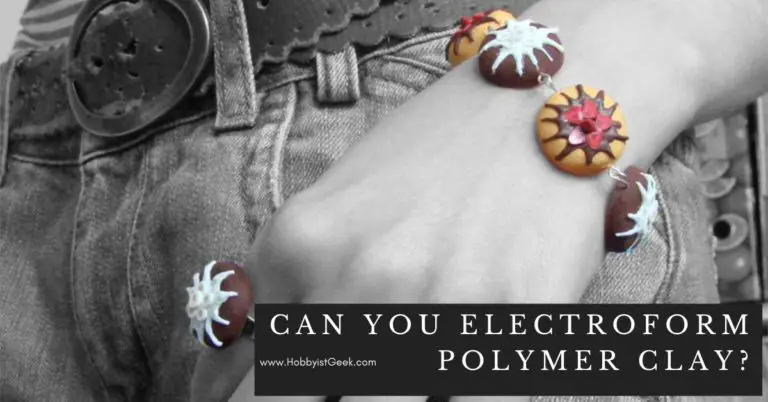
- Can You Electroform Polymer Clay? - April 13, 2021

